


Table of Content
Introduction.
Prerequisites.
What is Formspree?
Reasons Why You Should Use Formspree.
How to Create a Formspree Account.
Installing React App and Necessary Dependencies.
Building a Contact Form UI.
Installing and Setting up Formspree into a Contact Form.
a. How the useForm hook works.
Introduction
I decided to revamp my portfolio website a few months ago, it was all going smoothly until I decided to add a contact form section. OMG, the experience was rough, my challenge was how to set up the contact form in other to receive the email directly in my mailbox, all the solutions I tried to apply where just led to more problems until I found Formspree, a simple yet powerful form management tool that provides excellent functionality on its free tier. My worries were all over and I was embodied with happiness, for zero dollars I was able to get the contact form on my website up and running.
In this article, I will show you how to integrate your Contact Forms into Formspree, so that you can easily receive emails directly in your mailbox without spending a penny.
Prerequisites
Fundamentals of HTML/CSS
Fundamentals of ES6 JavaScript
Basic Understanding of React
Have Node installed, So you can download the npm package to be used using npm
Have an email account
What is Formspree?
Formspree provides a form backend service that lets you get useful information from your website without writing server-side code. So cool right? I know. Developers appreciate its ease of use and ease of integration, making it a preferred choice for managing, modifying, and integrating various third-party apps.
By using Formspree you get to speed up the submission process, improve user experience, and integrate your app with other tools and services.
Reasons Why You Should Use Formspree
Formspree is useful when you want to set up forms in React because
it eliminates the need for a backend, so good right? Follow me.
You can now easily create and manage forms without worrying about server-side code or a database. Cool right? I know.
Formspree also provides a simple API that can be integrated with any programming language or framework.
To use this service you will need an account. To do this I will show you how to create one in the next section.
Creating a Formspree Account
Go to Formspree's official website and create a free tier account with the email you intend on receiving data from. Click on the Get Started button to create an account.
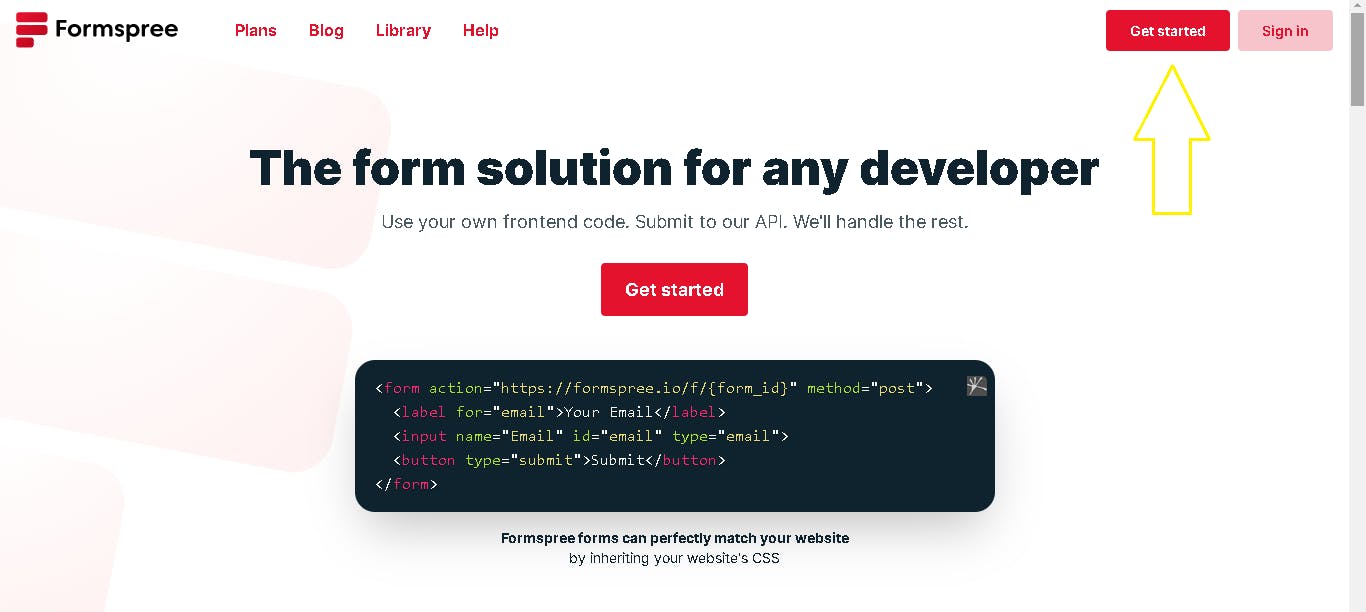
Figure 1. Formspree Homepage
As soon as the account has been created, a verification mail will be sent to the email address you intend to receive form data. You must click on the verify button in order to verify your account. You will be redirected to your Fromspree dashboard once you've done that.
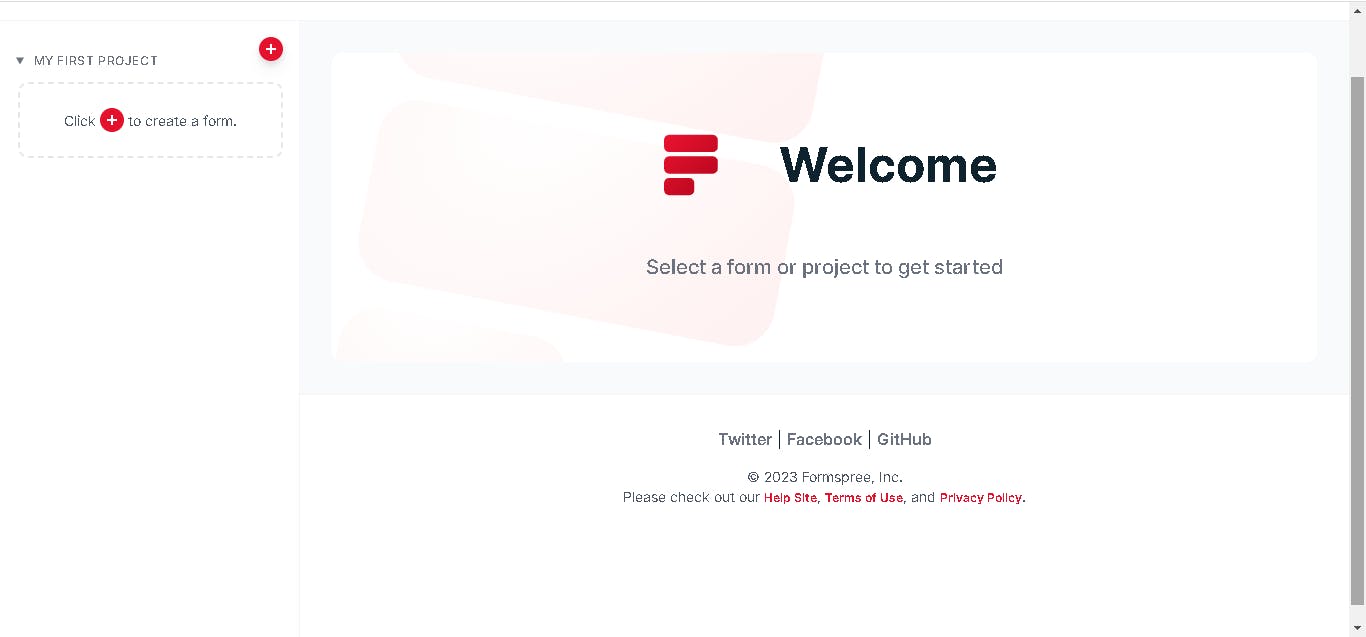
Figure 2. Formspree dashboard after registering successfully
Hurray! You have now successfully created a Formspree account. To use Formspree in React, you have to set up your React application. To do this, in the next section, you will install the React application template from Vite.
Installing React App and Necessary Dependencies
Once Node.js and npm are installed, you will be using Vite and React plugins to generate your react, instead of using create-react-app. The reason is CRA is no longer recommended by the React docs, so you will be using Vite. You can get to know the benefit of Vite over CRA in my previous article.
Note: I will be using the VSCode Editor for development in this tutorial, but any text editor should do the trick.
Run the command below in your command prompt terminal to create your app
npm create vite@latest formspree-contact-form – template react
Run the following commands in your terminal to redirect you to the project you will be working on, then install and run the Vite dev server.
cd formspree-contact-form
npm install
npm run dev
Locate the folder in your machine and open it with your code editor.
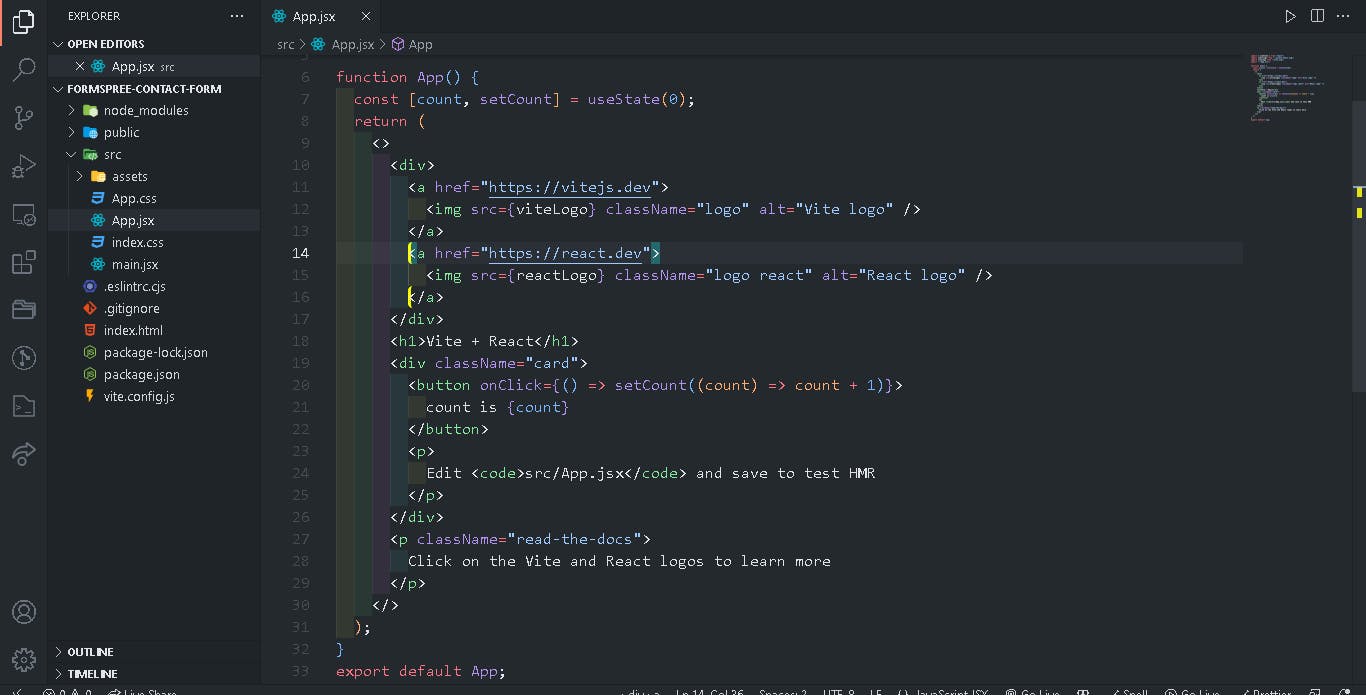
Figure 3. Initial look after creating react app using Vite
Remove all unnecessary files and styles from your app to make it clean.
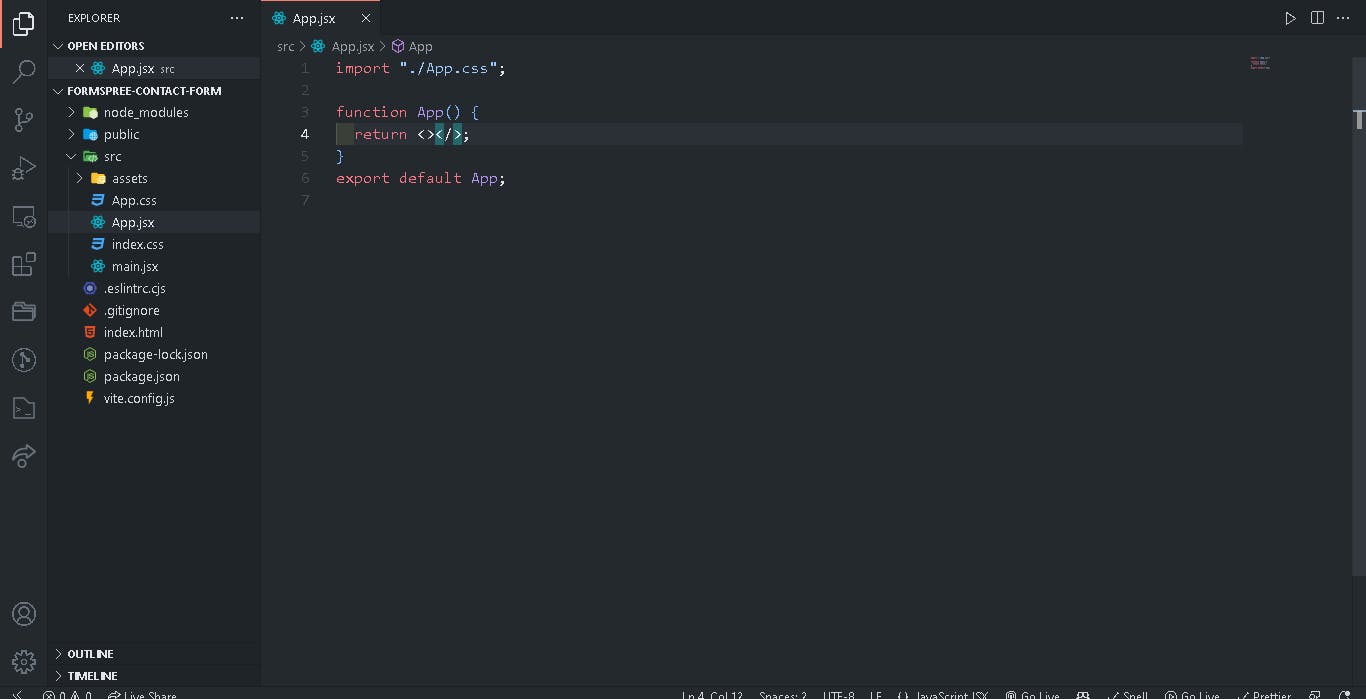
Figure 4. New view after clearing unnecessary files and styles
You have now cleared all the files that are not needed, now you have to create the form you will be using. To do this, we will write some JSX and CSS in the next section.
Building a Contact Form UI
To use the Formspree service, you have to build up a contact form that will take in information. Inside of App.jsx components use the HTML input and button tag to structure how you want your form layout to look and style it with CSS.
Let’s write some JSX and CSS code to create the application UI.
function App() {
  return (
    <article className="contact-form">
      <h3>Contact Us</h3>
      <form>
        <div className="form-group">
          <input
            type="text"
            placeholder="NAME"
            className="form-control"
            name="name"
          />

          <input
            type="email"
            placeholder="EMAIL"
            className="form-control"
            name="email"
          />
          <textarea
            name="message"
            placeholder="MESSAGE"
            className="form-control"
            rows="5"
          ></textarea>
        </div>
        <button type="submit" className="btn submit-btn">
          Submit Here
        </button>
      </form>
    </article>
  );
}
export default App;
* {
  margin: 0;
  padding: 0;
  box-sizing: border-box;
}

body {
  font-family: "Catamaran", sans-serif;
  background-color: #f4f4f4;
  line-height: 1.5;
  color: #102a42;
  font-size: 0.875;
}

h3 {
  text-transform: capitalize;
  letter-spacing: 0.25rem;
  line-height: 1.25;
  margin-bottom: 0.75rem;
  font-size: 1.5rem;
}


.contact-form {
  background-color: #fff;
  border-radius: 0.5rem;
  text-align: center;
  -webkit-transition: all 0.5s linear;
  transition: all 0.5s linear;
  box-shadow: 0 5px 15px rgba(0, 0, 0, 0.1);
  max-width: 35rem;
  margin: 5rem 24rem;
}

.contact-form:hover {
  box-shadow: 0 5px 15px rgba(0, 0, 0, 0.2);
}

.contact-form h3 {
  padding: 1.25rem;
  color: #617d98;
}

.form-group {
  padding: 1rem 1.5rem;
}

.form-control {
  display: block;
  width: 100%;
  border: none;
  background: #f1f5f8;
  padding: 1rem;
  margin-bottom: 1.25rem;
  border-radius: 0.5rem;
  letter-spacing: 0.25rem;
}

.form-control::-webkit-input-placeholder {
  color: #102a42;
  font-family: Verdana, Geneva, Tahoma, sans-serif;
  letter-spacing: 5px;
  text-transform: uppercase;
}

.form-control::-moz-placeholder {
  color: #102a42;
  font-family: Verdana, Geneva, Tahoma, sans-serif;
  letter-spacing: 5px;
  text-transform: uppercase;
}

.form-control:-ms-input-placeholder {
  color: #102a42;
  font-family: Verdana, Geneva, Tahoma, sans-serif;
  letter-spacing: 5px;
  text-transform: uppercase;
}

.form-control::-ms-input-placeholder {
  color: #102a42;
  font-family: Verdana, Geneva, Tahoma, sans-serif;
  letter-spacing: 5px;
  text-transform: uppercase;
}

.form-control::placeholder {
  color: #102a42;
  font-family: Verdana, Geneva, Tahoma, sans-serif;
  letter-spacing: 5px;
  text-transform: uppercase;
}

.btn {
  background-color: #678e3e;
  color: #fff;
  padding: 0.375rem 0.75rem;
  letter-spacing: 0.25rem;
  text-transform: capitalize;
  display: inline-block;
  font-family: 700;
  -webkit-transition: all 0.5s linear;
  transition: all 0.5s linear;
  font-size: 0.875rem;
  border: none;
  cursor: pointer;
  box-shadow: 0 1px 3px rgba(0, 0, 0, 0.2);
}

.submit-btn {
  width: 100%;
  padding: 0.9rem;
  font-size: 1rem;
  -webkit-transition: all 0.5s linear;
  transition: all 0.5s linear;
  border-bottom-left-radius: 0.5rem;
  border-bottom-right-radius: 0.5rem;
}

.submit-btn:hover {
  box-shadow: 0 5px rgba(0, 0, 0, 0.1);
}
After styling everything correctly, you should be able to see your form already. Below is an image of the form UI after styling.
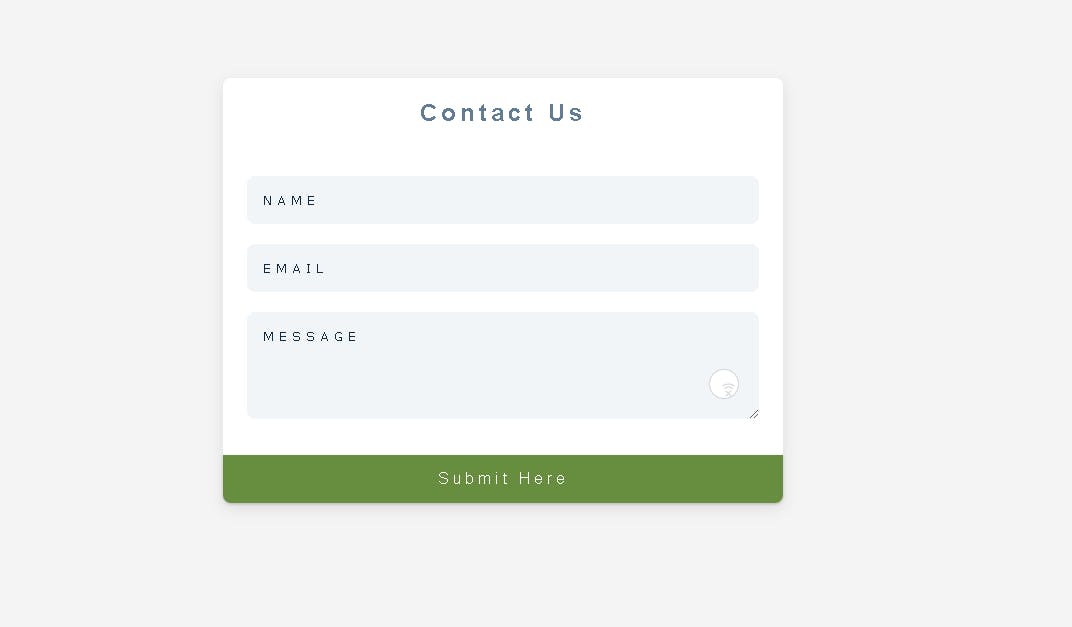
figure 5. Application UI without functionality just styling
It looks pretty right? You can be creative and change the CSS to whatever styles that interest you.
You have now successfully created your contact form. In the next section, you will create a form on your Formspree dashboard and get your hashID which you will utilize in your HTML form.
Installing and Setting up Formspree into a Contact Form
After completing the form design for your app, you will have to install the Formspree package into your application.
To do that run the command below in your terminal
npm i @formspree/react
Once it has been installed successfully, your package.json file should look like the image below.
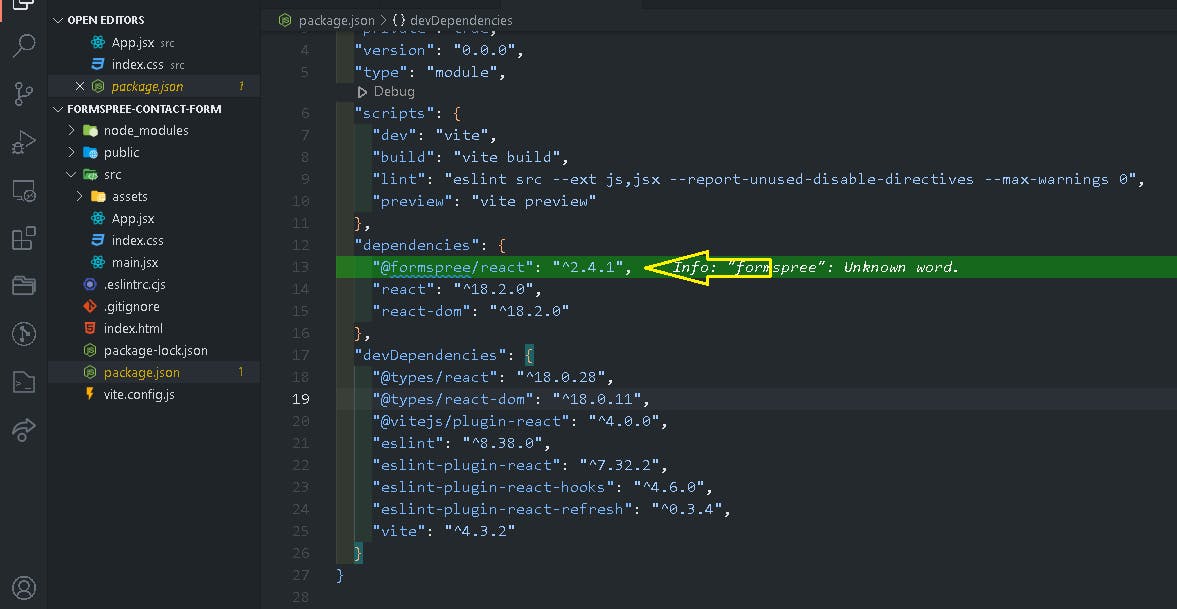
Figure 6. Formspree dependency inside the package.json after installation
Now go back to your Formspree dashboard and click on the + icon to create a new form.
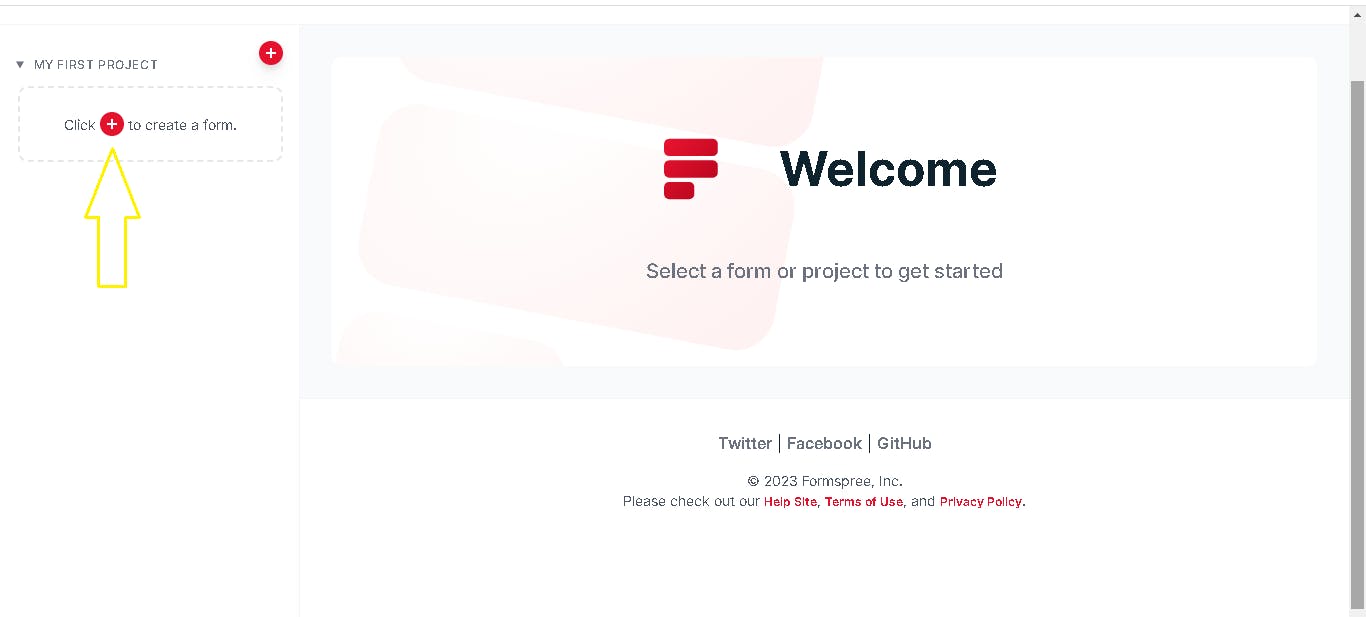
Figure 7. Adding a new form in the dashboard
After clicking on the icon, a popup modal form will appear. Do the following when the form modal is on your screen:
Give a name to the new form you are creating.
Make sure that the email available on the form is the one you register with.
Click on the Create form button to generate your hashID for your application form.

Figure 8. Popup modal that creates a new form
Once the form is created, you should be redirected to the next screen that looks like this.
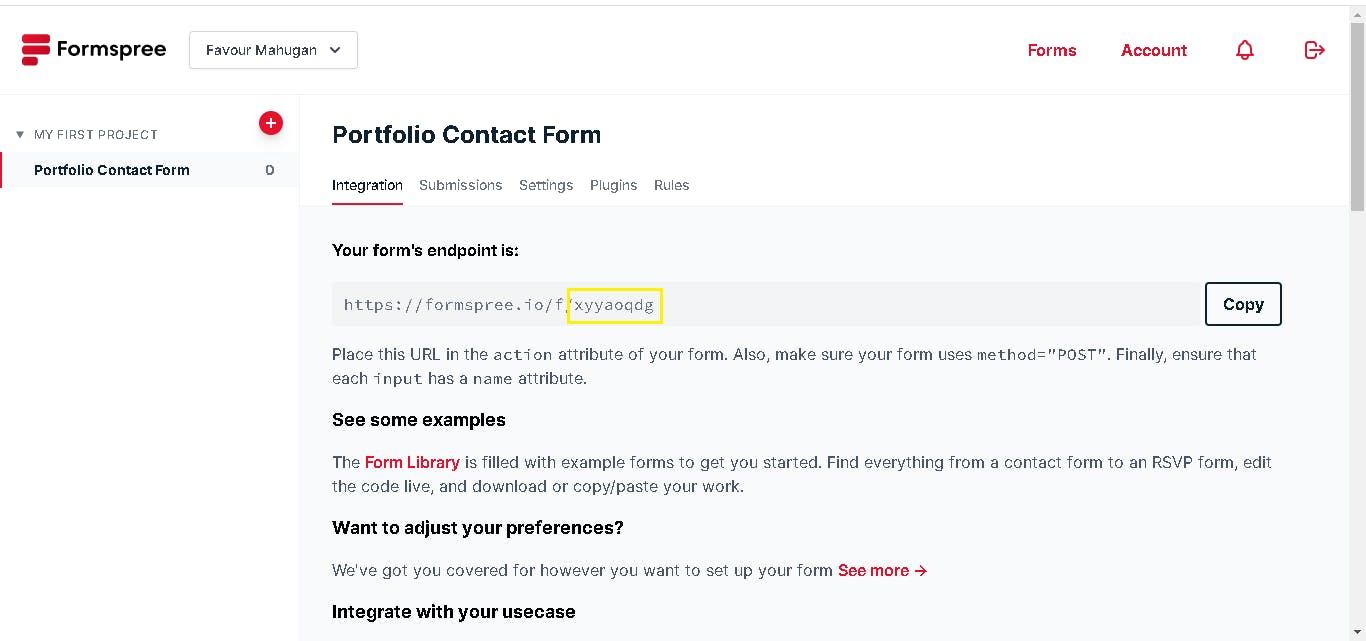
Figure 9. Created form page.
Note: The form’s endpoint section in the dashboard is a link to make a POST request if you are using just HTML, but since this is a React application all that matters is the last phrase of the endpoint. In the image above we are to copy the value xyyaoqdg. Once you create your own form you will get an endpoint which you can copy and easily use in your application.
Once you have gotten your hashID, go back to your text editor and update your code in index.css file.
.msg-sent {
  display: -webkit-box;
  display: flex;
  -webkit-box-align: center;
  align-items: center;
  -webkit-box-pack: justify;
  justify-content: space-between;
  color: green;
  text-align: center;
  width: 50%;
  margin: 0 auto;
  margin-top: 10rem;
}
Update your App.jsx file too by importing both useForm and ValidateError from the Formspree package into the workspace.
import { useForm, ValidationError } from "@formspree/react";

const [state, handleSubmit] = useForm("xyyaoqdg");

if (state.succeeded) {
    return (
      <>
        <div
          className=="msg-sent"
        >
          <h1>Your Message was sent Successfully</h1>
        </div>
      </>
    );
}
The hashID is added to the useForm hook as its initial value and the setter method hook is the handleSubmit function which submits the contact form data. If the state from the useForm hook succeeds, you can display a message so your users know you have received their data.
The first value in the useForm hook is a state object. The states inside of the object include the following:
Submitting: Check to see if the form is currently submitting. Its default value isfalse.Succeeded: checking to see if the form was submitted successfully. Its default value isfalse.Error: an array of server-side validation errors.
How the useForm Hook works
Once the handleSubmit function is called when the submit button is clicked the following things beginnings happen,
The submitting state value becomes true.
If the submission fails server-side validation errors are populated with specific errors.
Once the submission is successful, then the succeeded state becomes true.
After the submission is made the submitting state value is then set back to false which is its default value.
The validationError component is used to display error fields. It accepts the following attributes:
Field: which is the name of the field to display errors.Error: the object containing validation errors.Prefix: the human-friendly name of the field.
Update your App.jsx file by adding the ValidationError components.
<div className="form-group">
            <textarea
              name="message"
              placeholder="MESSAGE"
              className="form-control"
              rows="5"
            ></textarea>
            <ValidationError
              prefix="Message"
              field="message"
              errors={state.errors}
            />
</div>
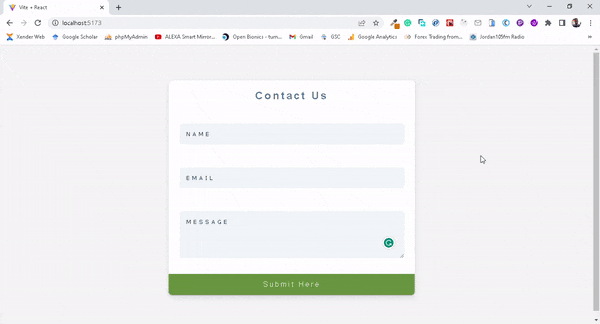
Figure 10. Final application without bug
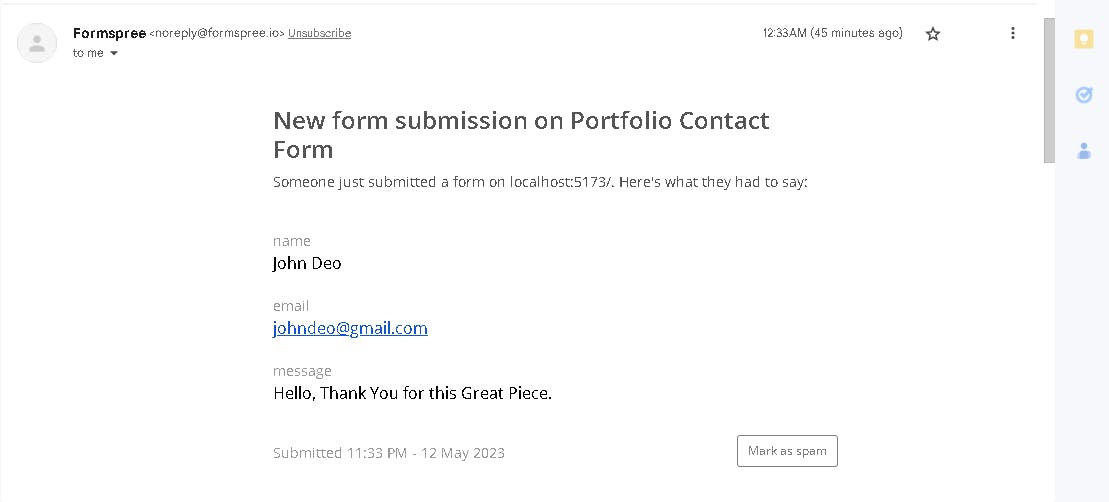
Figure 11. The message gotten from john doe (above image-Figure 10) is already in my mailbox
You can now clap for yourself at this moment, you have successfully connected the contact form on your website to Formspree and can now receive emails directly to your email address.
Conclusion
Website form management is made simple and effective by Formspree. It is an excellent option for front-end developers and businesses of all sizes because it is a dependable service with a user-friendly UI and customization possibilities.
Formspree is a tool that you can rely on to organize your workflow and enhance user experience, whether you are working on a personal project or developing a website for a client. With a free account option and inexpensive premium features, there is really no excuse not to give it a shot.
Therefore, take into account Formspree if you require a form solution for your upcoming project. Sign up right away to experience for yourself how simple it is to handle forms on your website.