
Getting Started with Redux Toolkit: A Practical Guide to Efficient State Management


Introduction
When managing states in a React application it can be very hard to remember all the information, which makes it a bit complicated and time-consuming, especially when you are building a larger application. The states of a react application can be managed in various ways which include using the useState and useEffect hook or using Context API.
Redux Toolkit is a powerful tool for developers, it helps to provide some set of tools that simplify the process of state management and more. Redux Toolkit makes sure everything is organized and works well in other to improve the developer’s productivity.
In this article, I will show you how to use the Redux Toolkit for state management in your React application.
Prerequisites
Fundamentals of HTML/CSS
Fundamentals of ES6 JavaScript
Basic Understanding of React
Have Node Installed
Table of Content
What is Redux Toolkit
How to set up and get started with Redux Toolkit in React
a. vite.js installation
b. redux toolkit installation
c. how to set up a redux store
d. how to connect your redux store to react
e. how to create a redux state slice
f. how to add Slice to the redux store
Creating application User Interface
What is Redux Toolkit?
Redux Toolkit also referred to as ReduxTK is a tool that can be used for state management in React as a substitute for Redux. The Redux team actually created it, so Redux Toolkit is built on top of Redux.
Redux Toolkit is a library that offers a systematic approach to building applications and provides several utilities that simplify common Redux tasks, like setting up the store, creating reducers, and generating action creators.
Here are some of the following features available in Redux Toolkit:
The
configureStorefeature is a function that sets up a Redux store with defaults and middleware. It allows you to create a Redux store for performance and functionality.The
createSlicefeature is a function that simplifies the generating of Redux actions and reducers automatically. When using thecreateSlicefunction, the following properties are defined:i. The slice name
ii. The initial states
iii. The reducers that modify the state are defined
createSlicefunction generates some set of Redux actions and reducers that can interact with the store based on thecreateSlicefunction definition.The
createAsyncThunkfeature is a function that simplifies the process of making Asynchronous API calls in Redux. It generates an action creator for handling data fetching and other side effects, which makes it easy for you to dispatch an action that represents an API call, it also handles the result of that call in a consistent approach.
How to set up and get started with Redux Toolkit in React
After installing Node.js and npm, you would not be using create-react-app to generate your React app. Instead, you will be using Vite.js. The reason is CRA is no longer recommended by the React docs, so you will be using Vite. You can get to know the benefit of Vite over CRA in my previous article.
Note: I will be using the VSCode Editor for development in this tutorial, but any text editor should do the trick.
Run the command below in your command prompt terminal to create your app:
npm create vite@latest learning-reduxtk – template react
Run the following commands in your terminal to redirect you to the project you will be working on, then install and run Vite dev server:
cd learning-reduxtk

npm install

npm run dev
Locate the folder on your machine and open it with your code editor. This is what it should look like
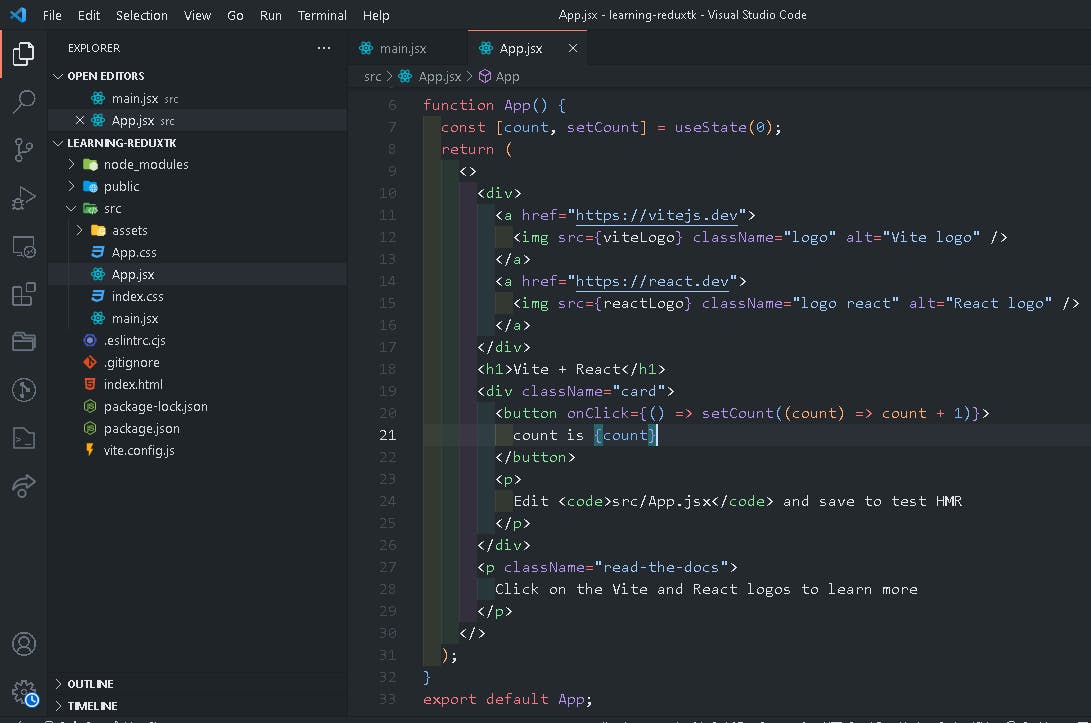
Figure 1. Initial look after creating react app using Vite
Remove all unnecessary files and styles from your app to make it clean.
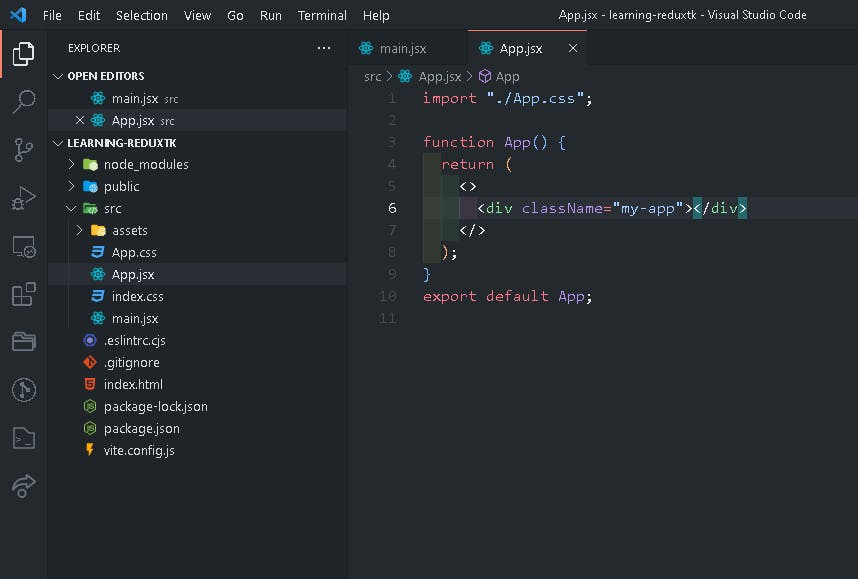
Figure 2. New view after clearing unnecessary files and styles
In other to use Redux Toolkit in your project, stop the running dev server using ctrl + c then y which stands for yes.
Now run the code below in your terminal
npm install @reduxjs/toolkit react-redux
How to Create a Redux Store
Once installation and clearing of files are completed, create a file named src/app/store.jsx
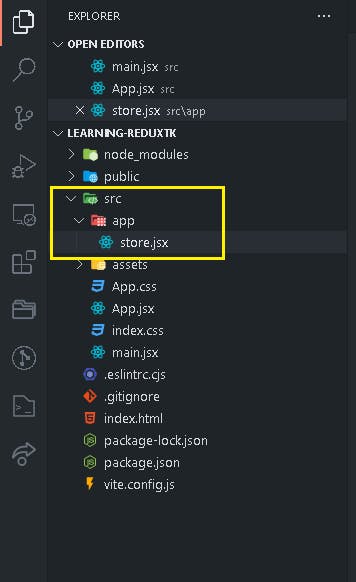
Figure 3. Redux store in the app folder structure
Import configureStore function from Redux Toolkit to set up your redux store inside the store.jsx file and create an empty Redux store which will be exported. below is a code example
//src/app/store.jsx

import { configureStore } from "@reduxjs/toolkit";

export const store = configureStore({
  reducer: { }, // empty reducer for initials
}); // creating a redux store
configureStore function takes in an object with a reducer property that points to the application root reducer function. The code above also creates a Redux store and automatically configures the Redux DevTools extension, so that you can inspect your store while developing.
How to Connect Your Redux Store to React
After creating the store, inside of your <Main/> component you will have to wrap your <App/> component within a <Provider/> component which will be imported from react-redux. The store you created above will be passed in as a prop to the Provider component. The code below is an example.
//src/main.jsx

import React from "react";
import ReactDOM from "react-dom/client";
import App from "./App.jsx";
import "./index.css";
import { Provider } from "react-redux"; // importing Provider from redux
import { store } from "./app/store.jsx"; // importing the store we created earlier

ReactDOM.createRoot(document.getElementById("root")).render(
  <React.StrictMode>
// The store is now availabe to the react app
    <Provider store={store}>
      <App />
    </Provider>
  </React.StrictMode>
);
How to Create a Redux State Slice
After the store has been created and passed in as a prop to the <Provider/> component, create a file src/features/countSlice.jsx
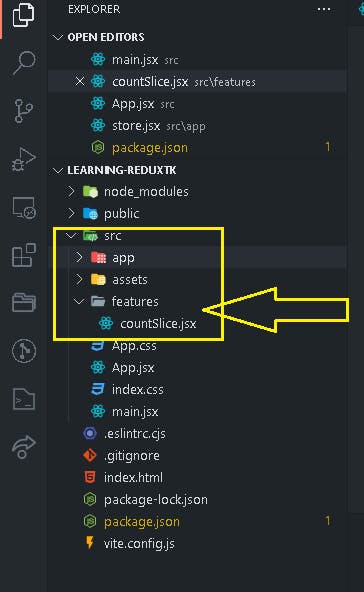
Figure 4. Redux slice in the app folder structure
Import createSlice function from Redux Toolkit to generate a reducer function, action creators, and the initial state of your application.
Redux Toolkit introduced the concept of a redux slice, it represent an independent piece of the redux store. Slice provides a way to organize and modularize Redux code, making it easy to manage and maintain your application as it grows.
The following properties are required when creating a slice:
The
nameproperty holds the name of the slice and it is always set as a string.The
initialStateare the initial state value of your application.The
reducerscontains actions that define how the state of your application can be updated.
Organizing your redux code into slices enables you to create maintainable architecture for your application, which makes it easy to update your application when it becomes large.
The slice created has to be exported before it can be used inside of the store, and the redux actions inside of the reducers object are exported differently. Below is a code example.
// src/features/countSlice.jsx

import { createSlice } from "@reduxjs/toolkit";

const initialState = {
  count: 0,
};

const counterSlice = createSlice({
  name: "counter", // name of slice
  initialState, // initial state values
  reducers: {
    increase: (state) => {
      state.count = state.count + 1;
    }, // increase the count state by 1
    decrease: (state) => {
      state.count = state.count - 1;
     }, // decrease the count state by 1
    multiplyByAmount: (state, action) => {
      state.count = state.count * action.payload;
    }, // multiply the count state by any amount chosen
    resetCount: (state) => {
      state.count = 0;
    }, // reset the count state back to default
  },
}); // action that defines how the state of your application should be updated.

// action creators generated for each reducer function
export const { increase, decrease, multiplyByAmount, resetCount } =
  counterSlice.actions;

export default counterSlice.reducer;
How to Add Slice to Redux Store
Go back to the store that you created earlier and import the counter slice reducer function.
// src/app/store.jsx

import { configureStore } from "@reduxjs/toolkit";

// importing the count slice reducer function
import countReducer from "../features/countSlice";

export const store = configureStore({
  reducer: {
    counter: countReducer, // connecting the slice created to the store
  },
});
The code above allows you to completely configure each slice created in the store.
Creating application User Interface
To use the action creators you have to create a display UI component that will show the application you are creating in the browser. You’ve just been going through how to set up the redux toolkit, store, and reducer. Let’s write some JSX and CSS code to create the application UI.
// src/app.jsx

function App() {
  return (
    <>
      <div className="my-app">
        <h1>Count is 0</h1>
        <div className="btn">
          <button type="button">
            Increment
          </button>
          <button type="button">
            Decrement
          </button>
          <button type="button">
            Multiply By 5
          </button>
          <button type="button">
            Reset
          </button>
        </div>
      </div>
    </>
  );
}
export default App;
// src/index.css

body {
  margin: 0;
  display: -webkit-box;
  display: grid;
  place-items: center;
  text-align: center;
  min-width: 320px;
  min-height: 80vh;
  font-family: Inter, system-ui, Avenir, Helvetica, Arial, sans-serif;
  line-height: 1.5;
  font-weight: 400;
  color: #242424;
  background-color: #f4f4f4;
}

h1 {
  font-size: 3.2em;
  line-height: 1.1;
}

.btn {
  display: -webkit-box;
  display: flex;
  justify-items: center;
  -webkit-box-align: center;
  align-items: center;
}

button {
  border-radius: 8px;
  border: 1px solid transparent;
  padding: 0.6em 1.2em;
  font-size: 1em;
  font-weight: 500;
  font-family: inherit;
  background-color: #646cff;
  cursor: pointer;
  -webkit-transition: border-color 0.25s;
  transition: border-color 0.25s;
  margin-left: 1rem;
}
button:hover {
  border-color: #1a1a1a;
}
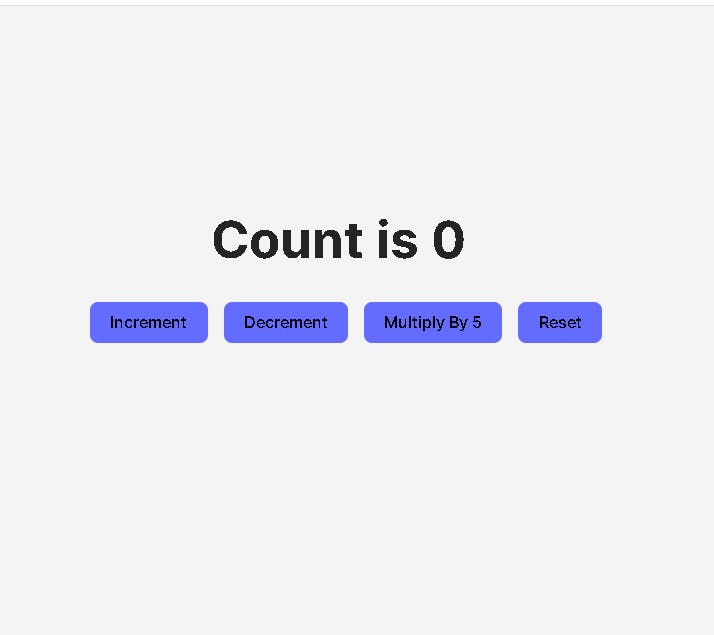
figure 5. Application UI without functionality just styling
You’ve just finished creating the application UI, now you need to use the state and actions inside of your application in other to achieve the functionalities you desire.
The following hooks are important to import:
useSelectorhook is used to select the states from the redux store.useDispatchhook is used to dispatch function for dispatch action.
import { useSelector, useDispatch } from "react-redux";
import {
  increase,
  decrease,
  multiplyByAmount,
  resetCount,
} from "./features/countSlice";

function App() {
  const { count } = useSelector((store) => store.counter);
  const dispatch = useDispatch();
  return (
    <>
      <div className="my-app">
        <h1>Count is {count}</h1>
        <div className="btn">
          <button type="button" onClick={() => dispatch(increase())}>
            Increment
          </button>
          <button type="button" onClick={() => dispatch(decrease())}>
            Decrement
          </button>
          <button type="button" onClick={() => dispatch(multiplyByAmount(5))}>
            Multiply By 5
          </button>
          <button type="button" onClick={() => dispatch(resetCount())}>
            Reset
          </button>
        </div>
      </div>
    </>
  );
}
export default App;
Take a look at the code above, the actions functionality (increase, decrease, multiplyByAmount, and resetCount) are being imported from the count slice you created earlier. The state was gotten from the store and set to the variable name count using the useSelector hook while the action was set to a variable named dispatch using the useDispatch hook. The onClick event was added to each button in other to run the various action (increase, decrease, multiplyByAmount, and resetCount) when clicked.
The following effect occurred when the button was clicked
The Redux action was dispatched to the store
The slice reducer saw the action that was being triggered and update the state.
Below is the final result of the code
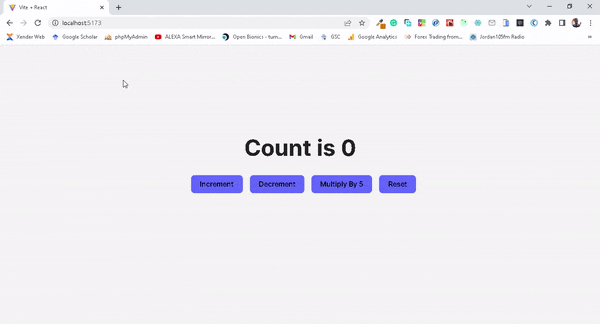
Figure 6. Final application without bug
Here is the link to the repository for easy access: Github
Live link available here: Demo
Conclusion
At this point, you should be comfortable using Redux Toolkit for state management in your React application because we have covered the basics regarding Redux Toolkit, how to create a store, and how to define reducers and actions.
Be you a seasonal developer or new to Redux state management, Redux Toolkit can help you to build more efficient applications. So do give it a try in your next project and see how it can help improve your workflow and make building react applications a breeze for you.